Jewelry laser welder settings can look complicated at first. A typical machine gives you control over pulse energy, pulse width, frequency, and spot size—and changing only one of them can completely change the weld.
The good news is that you do not need a separate parameter set for every piece of jewelry.
For most bench repairs, the process is simple:
Start with the metal and repair type, use a conservative starting range, make a test weld, inspect the result, and adjust one parameter at a time.
The settings in this guide are starting points rather than universal presets. Different laser welders, alloy compositions, optics, filler wire, and joint preparation can all change the actual energy delivered to the metal.
Always test on scrap or a noncritical area before welding a customer's finished piece.
Jewelry Laser Welder Settings: Quick Reference
Repair | Material | Pulse Energy | Pulse Width | Frequency | Spot Size |
|---|---|---|---|---|---|
Prong retipping | 14K–18K yellow gold | 6–9 J | 4–7 ms | 3–5 Hz | 0.3–0.4 mm |
Prong retipping | White gold | 7–10 J | 5–8 ms | 3–5 Hz | 0.3–0.4 mm |
Prong retipping | Sterling silver | 5–8 J | 3–5 ms | 4–6 Hz | 0.25–0.35 mm |
Standard ring sizing | 14K–18K gold | 8–11 J | 6–9 ms | 3–5 Hz | 0.35–0.45 mm |
Heavy ring sizing | 14K–18K gold | 12–16 J | 8–12 ms | 2–4 Hz | 0.45–0.55 mm |
Fine chain repair | Gold / silver | 2–4 J | 1–2 ms | 5–8 Hz | 0.15–0.25 mm |
Medium chain repair | Gold / silver | 3–5 J | 2–3 ms | 4–6 Hz | 0.2–0.3 mm |
Clasp / heavy jump ring | Gold / silver | 4–7 J | 2–4 ms | 4–6 Hz | 0.2–0.3 mm |
Prong repair | Platinum | 13–17 J | 9–13 ms | 2–4 Hz | 0.4–0.5 mm |
Ring sizing | Platinum | 15–19 J | 10–14 ms | 2–3 Hz | 0.45–0.55 mm |
These values should be treated as starting ranges, not guaranteed settings. Begin near the lower end and increase energy only when the joint is not fusing properly.
The Four Settings You Need to Understand
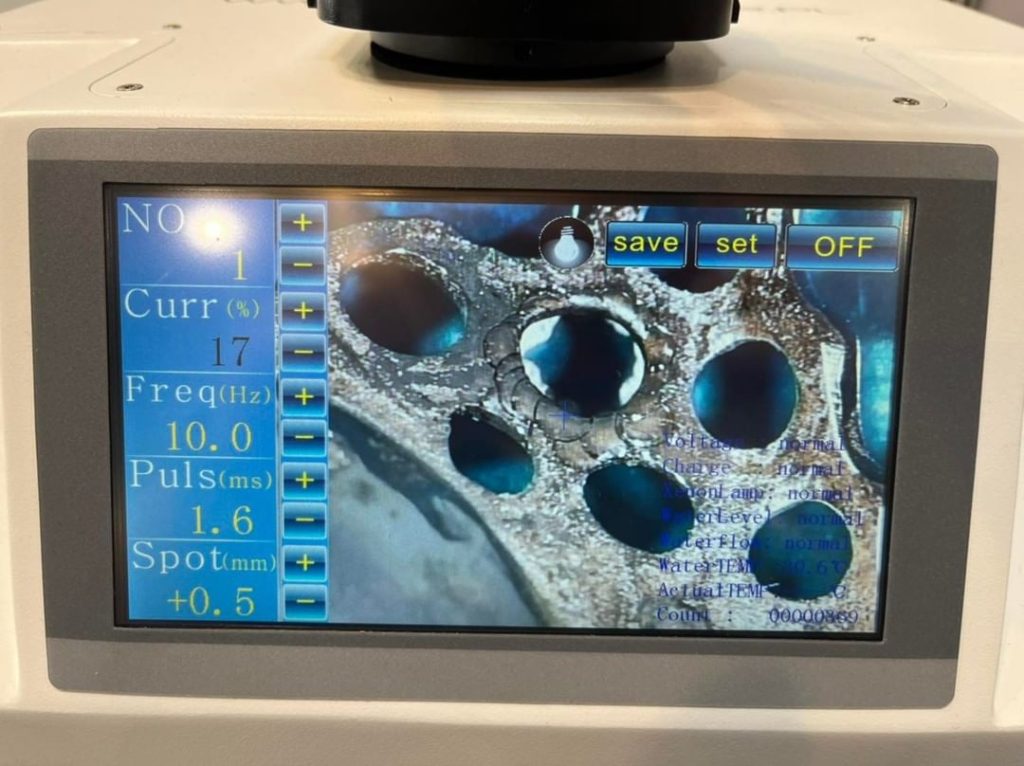
Before using any parameter chart, understand what the four main controls actually do.
Pulse Energy
Pulse energy, usually displayed in joules, controls how much energy is delivered in each laser pulse.
More energy can improve penetration and fusion, but excessive energy can create craters, burn-through, excessive melting, or surface pitting.
A good rule is to start low and increase gradually until the weld penetrates properly.
Pulse Width
Pulse width controls how long each pulse acts on the metal.
Short pulses concentrate energy into a brief interval and are useful for thin components and small precision welds.
Longer pulses put heat into the joint for more time, which can help on thicker metal but also increases the heat-affected area.
Frequency
Frequency controls how many pulses are delivered per second.
Higher frequency can make repetitive welds or seams faster and smoother, but it can also increase cumulative heat.
Lower frequency gives the operator more time to observe each weld and allows additional cooling between pulses.
Spot Size
Spot size controls how concentrated the laser energy is.
A smaller spot creates higher energy density and is useful for chains, prongs, jump rings, and fine repairs.
A larger spot spreads the energy across more metal and is generally more suitable for thicker ring shanks and larger joints.
For fine jewelry repair, spot size and pulse control are often more important than simply increasing power.
Prong Repair: Start Small and Build Gradually
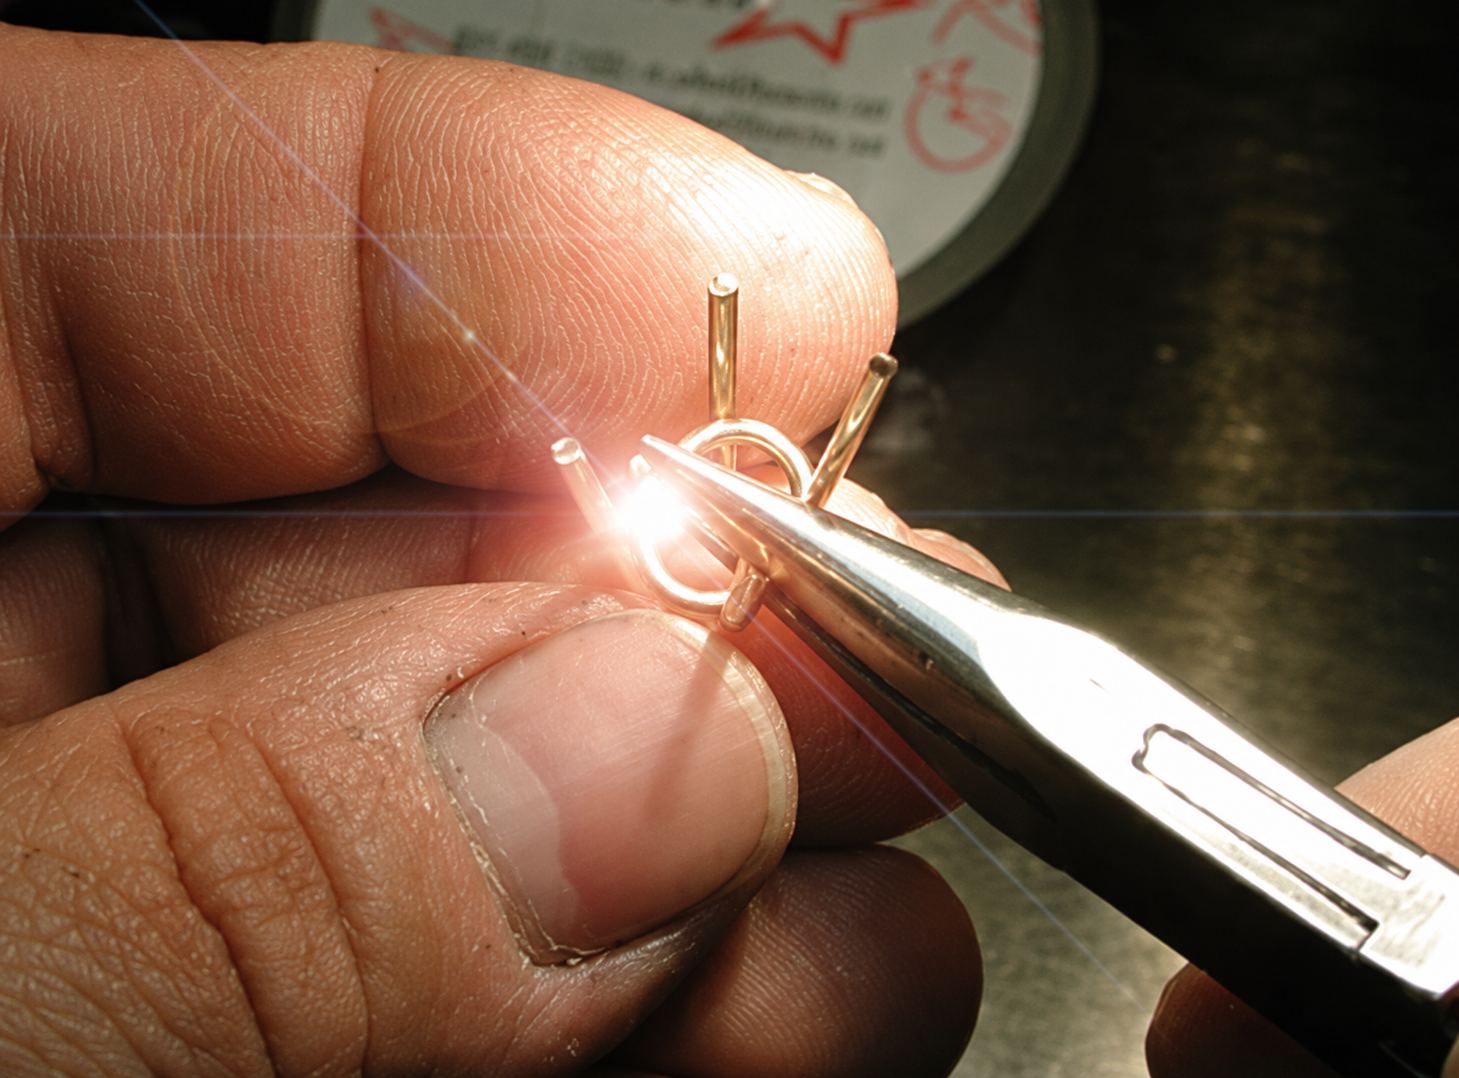
Prong repair is one of the most common uses for a jewelry laser welder.
When only the tip is worn, the objective is usually to add a small amount of matching filler wire without overheating the surrounding setting.
That is why prong retipping generally uses a relatively small spot and moderate pulse energy.
For 14K–18K yellow gold, a useful starting point is approximately 6–9 J with a 0.3–0.4 mm spot.
White gold may require slightly different settings depending on whether the alloy contains nickel, palladium, or other metals.
Sterling silver also behaves differently from gold and should be tested independently rather than using gold parameters automatically.
For a completely broken or missing prong, more energy and a slightly larger spot may be needed because the repair involves rebuilding a larger section of metal.
Do not try to build the entire prong with one aggressive weld.
Tack, inspect, add filler gradually, and build the structure in controlled layers.
Ring Sizing: Joint Preparation Matters as Much as Power
Ring sizing usually requires more energy than a small prong repair because the laser must join two larger sections of the shank.
For a normal 14K–18K gold band, a starting range around 8–11 J with a medium spot can provide a useful baseline.
Heavier bands require more energy and usually benefit from a slightly wider spot and longer pulse.
However, increasing the laser settings will not fix a badly prepared joint.
The two cut surfaces should be clean, aligned, and fitted as closely as practical before welding.
Large gaps encourage porosity and require unnecessary filler material.
For thicker bands, avoid trying to achieve full penetration from one side with one high-energy pulse. Building the weld from several directions or layers often gives the operator more control.
Chain Repair: Precision Matters More Than Power
Chains require some of the lowest-energy settings in jewelry repair.
Fine cable, rope, or delicate link chains can contain extremely small wire sections. Excessive pulse energy can remove more metal than it joins.
For fine chain work, approximately 2–4 J, short pulse widths, and a small spot provide a practical starting point.
The most important step happens before the laser fires:
The two ends of the link must already meet correctly.
The laser should fuse the joint, not bridge a large open gap.
For medium Figaro, curb, or heavier chains, the settings can be increased slightly because more metal must be fused.
After welding, check that the repaired link still moves naturally. A technically strong weld is not a successful chain repair if the link becomes rigid or distorted.

Jump Rings and Clasp Repairs
Jump rings are another application where joint fit-up has a major effect on weld quality.
Before welding, close the ring so the two cut ends meet cleanly without excessive overlap or a visible gap.
Fine jump rings can usually begin with very low pulse energy and a small spot.
Heavier jump rings and broken clasp attachment points require slightly more energy.
The laser is useful when the attachment point itself has broken.
However, if the internal spring or mechanical portion of a lobster or box clasp has failed, replacing the clasp is often more practical than trying to laser-weld a worn mechanism.
The laser should solve the metal joint—not compensate for a mechanically failed component.
Platinum Requires More Energy Reserve
Platinum behaves differently from gold and generally requires a stronger starting parameter range.
For prong work, the original reference suggests approximately 13–17 J as a starting range, while ring sizing may require roughly 15–19 J depending on the shank and machine.
This does not mean you should automatically run platinum at the highest available setting.
The same principle still applies:
Start conservatively, observe penetration, and increase energy gradually.
For substantial platinum rings, the ability to deliver higher pulse energy consistently is one reason professional repair shops may prefer a higher-capacity laser welder.
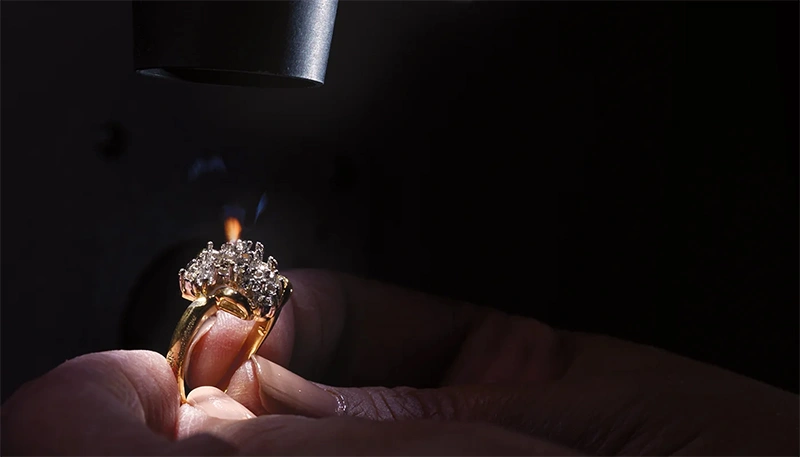
What About Welding Near Gemstones?
This is where parameter charts should be used carefully.
There is no universal “safe distance” that makes laser welding automatically safe around a gemstone.
Risk depends on the gemstone species, treatments, inclusions, setting design, metal thickness, laser direction, pulse settings, and whether reflected laser energy can reach the stone.
Diamonds, sapphires, emeralds, opals, pearls, coated stones, and fracture-filled gemstones can behave very differently.
Laser welding has an important advantage over torch soldering because the heat is localized.
But localized heat is not the same as zero risk.
Before welding close to a valuable or sensitive stone, identify the gemstone and its treatment status. Use conservative settings and shield the stone appropriately.
When the risk is unclear, removing the stone remains the safer option.
Why the Same Settings Do Not Work on Every Machine
Two jewelry welding machines can display the same joules, pulse width, and frequency but produce different welds.
Several factors affect the actual result.
A dirty protective lens can reduce delivered energy.
Focus position can change energy density.
Different gold alloys absorb and conduct heat differently.
Filler-wire composition affects color and fusion.
Machine calibration can also cause the displayed energy to differ from the real output.
That is why the parameter chart should be used as a starting map rather than a recipe.
The final setting should always be established through actual welding results.
How to Adjust Settings When the Weld Looks Wrong
The original article correctly emphasizes changing one parameter at a time rather than randomly adjusting several controls.
Weld Problem | First Adjustment |
|---|---|
Burn-through or deep crater | Reduce pulse energy |
Metal is excessively blackened | Reduce heat input and check shielding/cleanliness |
Bead sits on top with poor fusion | Increase pulse energy gradually |
Weld is too wide | Reduce spot size or heat input |
Penetration is inconsistent | Check focus and spot position first |
Porosity | Check cleanliness, filler wire, shielding gas and joint fit |
Thin part overheats during repeated welds | Reduce frequency or allow more cooling time |
Heavy section does not fuse | Increase energy or pulse width gradually |
Do not immediately blame the wattage of the machine.
A weld problem may come from focus, contamination, shielding gas, filler material, or joint preparation rather than insufficient laser power.
Clean the Joint Before Changing the Settings
Many poor welds begin before the laser is activated.
Oil, polishing compound, oxidation, old solder, moisture, and other contamination can enter the molten pool and create porosity.
The repair area should therefore be cleaned before welding.
Fit-up should also be checked carefully. The part should remain stable under the microscope rather than moving between pulses.
Argon shielding should be positioned correctly when required, particularly for platinum, titanium, and other oxidation-sensitive metals.
The original source emphasizes joint cleanliness, fit-up, clamping, and shielding-gas hardware as important pre-weld checks.
Do not keep increasing joules to compensate for a contaminated or poorly fitted joint.
How to Inspect the Weld
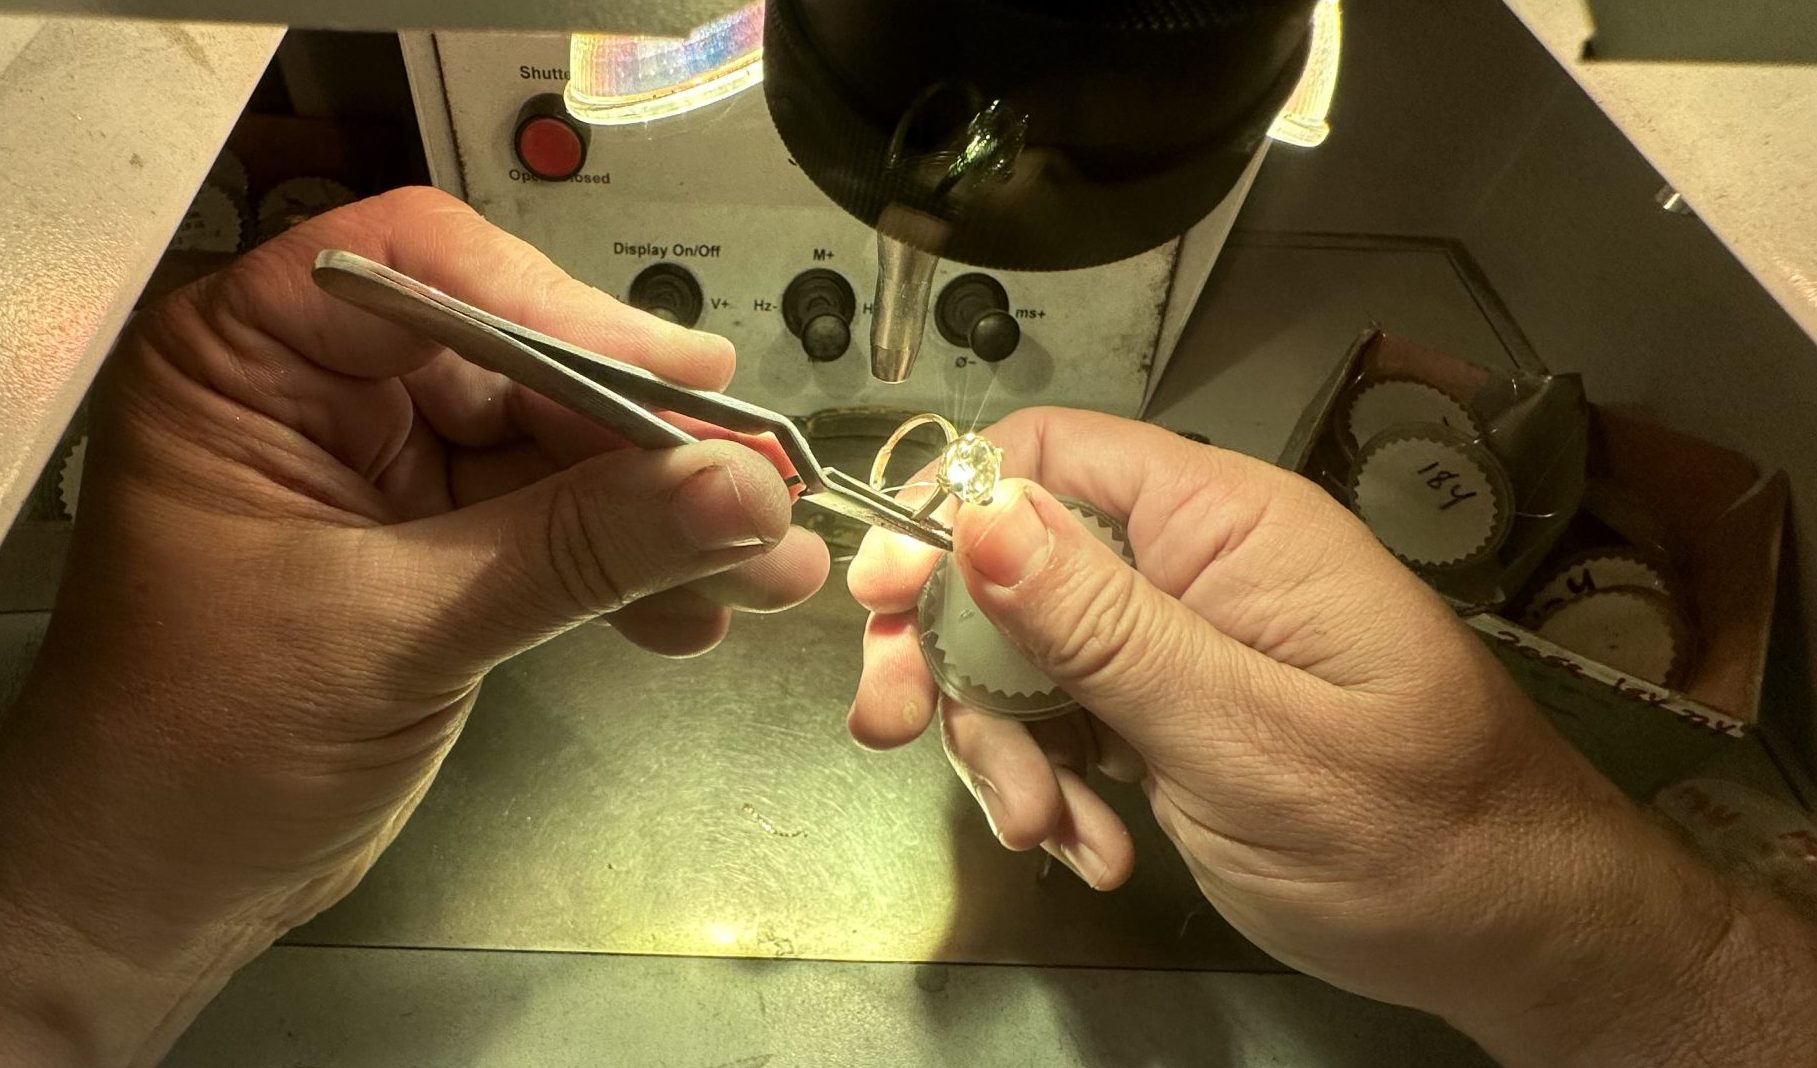
After welding, inspect the joint under magnification before polishing hides the surface.
Look for cracks, clustered porosity, craters, undercut, incomplete fusion, excessive filler buildup, distortion, or a visible gap in the joint.
A good jewelry laser weld should appear continuous and controlled, without obvious surface-breaking defects.
Then test whether the repaired component still functions correctly.
A chain link should move naturally.
A clasp should open and close normally.
A prong should secure the stone without distortion.
A resized ring should remain round and aligned.
The original guide recommends magnified inspection specifically to identify cracks, porosity, overlap and incomplete weld areas before the piece leaves the bench.
The Simplest Way to Find the Right Setting
When approaching a new repair, use this sequence:
Identify the metal and repair type → choose a conservative starting range → prepare and clean the joint → make one test weld → inspect penetration and heat effect → adjust one parameter → repeat until the result is stable.
Once you find a combination that works well, save it.
Over time, a repair shop can build its own parameter library for common jobs such as 18K yellow-gold prongs, white-gold ring sizing, platinum shanks, fine chains, and silver repairs.
That library will usually become more valuable than a generic parameter chart because it reflects your actual machine, filler wire, alloys, and working methods.
Conclusion
Jewelry laser welder settings become much easier once you stop treating them as isolated numbers.
Pulse energy controls how much energy enters each weld. Pulse width controls how long that energy acts on the metal. Frequency controls how quickly pulses repeat. Spot size controls how concentrated the energy is.
For delicate chains and fine jump rings, start with low energy and a small spot.
For prongs and general gold repairs, use moderate settings and build the weld gradually.
For ring sizing and heavier sections, increase energy and spot size as required.
For platinum and substantial repairs, additional energy reserve becomes more valuable.
Most importantly, do not expect one chart to replace testing.
Start low, test on representative material, change one parameter at a time, and judge the weld—not the number displayed on the screen.
Need help establishing starting settings for your repair work?
Send JewelryLaserNova photos or sample pieces along with the metal, repair type, material thickness, and your current machine configuration. The team can run sample welds and help recommend practical starting parameters for your actual jewelry rather than relying on a generic preset.